Quebec strawberries are out in full force and I intend to can as many as possible. These strawberries are just too good to not be able to have year round, so for me this means strawberry jam. Canning strawberry jam is not as difficult as it sounds, but it does take some time. However, for me the rewards are worth it.
Last weekend I made some Strawberry-Rhubarb Jam from the Bernardin website. While it was good, I wanted to make something a little less sweet and with a few more chunks of fruit.
I was constantly searching for canning recipes on my ipod, so I broke down and bought the Bernardin Complete Book of Home Preserving. Unfortunately, I did not use a recipe from this book in the end (although I will, I already have tons bookmarked). I was wary of all the sugar, not simply due to the fact that it was a lot of sugar (in some of the recipes there is more sugar than fruit!) but I simply prefer less sweet stuff. Instead I turned to the trusty Food In Jars blog for my strawberry jam recipe.

Strawberry Jam (Liquid Pectin Method)
(adapted from the Food in Jars blog)
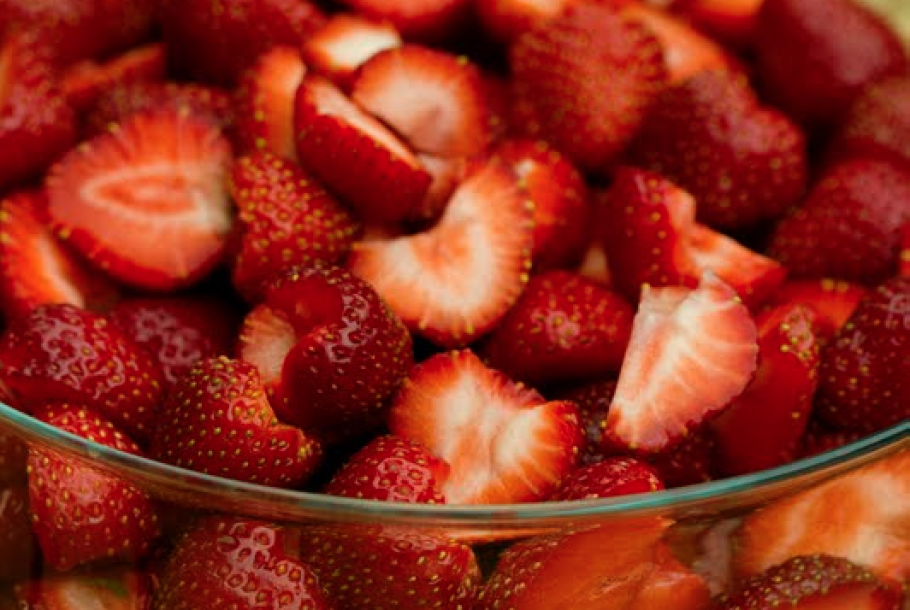
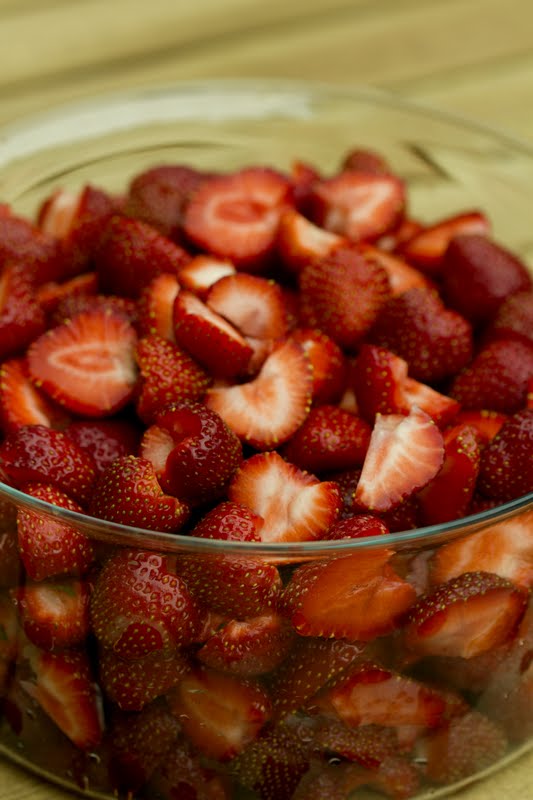
9-10 cups hulled and halved strawberries
A few drops of vanilla extract or 1 vanilla bean
5 cups granulated sugar (split into 2 cups and 3 cups)
2 lemons zested and juiced
2 packets liquid pectin*
8 250ml jars
- Mix berries with 2 cups sugar and the vanilla bean (or drop a few drops extract) and mash a little with a potato masher. Leave overnight to macerate.
- The next day, if using the vanilla bean, remove squeezing out the seeds.
- Fill your canning pot with 2/3 water and bring to a boil on the stove top. Make sure there is a rack at the bottom of the pot so the jars are not resting directly on the bottom.
- Put berries, the rest of the sugar (3 cups), lemon zest and juice in a different large pot and cook over medium-high heat for about fifteen minutes slowly bringing to a boil. Fruit should start to look syrupy.
- While cooking, you can use the back of a spoon to crush some of the fruit, or an immersion blender but don’t go overboard as you want some chunks.
- Bring to a boil and squeeze in the pectin.
- Skim off the foam with a large spoon.
- Let boil for 10 more minutes. You should have such a boil that you cannot stir down for at least one minute. To test for doneness try the jam readiness test which in my case is to coat the back of a wooden spoon. Draw your finger down. If it doesn’t fill again and leaves an empty space the jam is ready.
- Lay out your clean jars. You will need approximately 8 250ml jars.
- Put the lids of the canning jars in a saucepan of hot water to soften the sealing compound.
- Bring a kettle of water to a boil in case you need to top up your canning pot.
- Fill the jars leaving 1/4 inch headspace and wipe the edge with a towel dipped in boiled water. Top with lids and screw on rings. Place jars on a rack in the canning pot so they are not directly touching the bottom. Carefully lower jars into the water once you have all your jars full. At this point make sure your jars are topped by at least 2 inches boiling water. Top up with water from your kettle if need be.
- Process for ten minutes in boiling water. When the time is up, turn off the stove and let them sit in the water for around 5 minutes. Remove and set on a folded towel on the counter. They should ping fairly quickly. If not you must refrigerate them and use them within 1-2 days.
*I read in the Bernardin book that the amount of pectin if it varied by a few grams (or ml) is not a big deal. I used Bernardin brand pectin which is 85ml a pouch.

Notes: I actually didn’t use the full five cups of sugar, I maybe used only three because the berries were so sweet. However, sugar is a preserving agent so I feel that it is negligent to recommend less than the amount in the recipe. My jam still turned out fine, but for preservation sake you may want to go with the full 5 cups.
For more info on canning so my previous post here.
The link to the cookbook is part of our Amazon Affiliates shop.

Michelle Little
Writer & Photographer


Pingback: Easy Stewed Rhubarb | Roasted